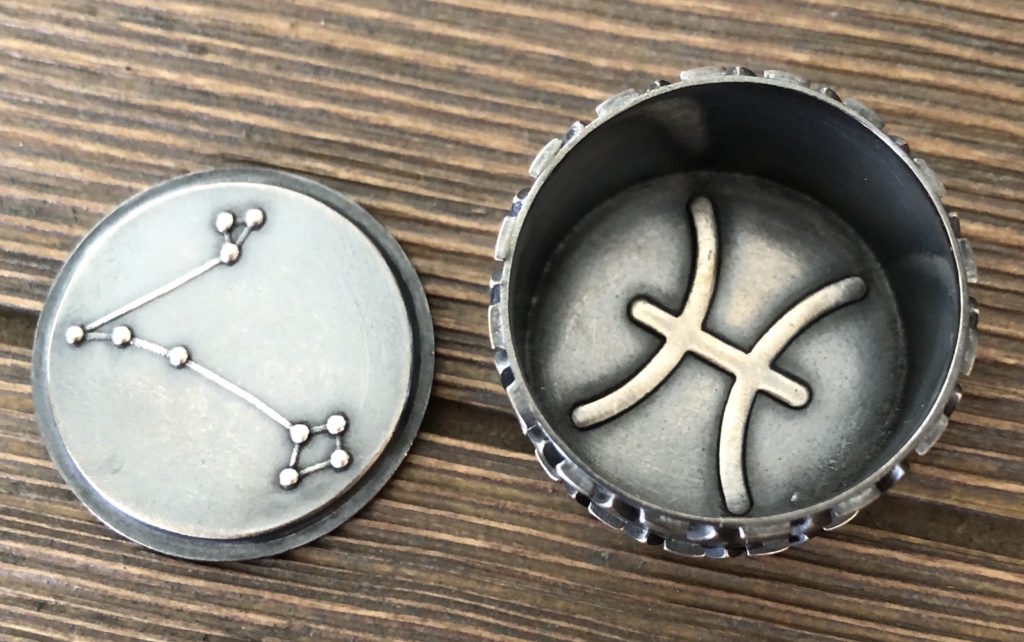
I love the new zodiac themed Jewelry Artist Element Texture Tiles, and how they offer so many different expressions of the zodiac symbol that they are representing. I wanted to take advantage of that quality of these texture tiles in this piece, and made a sweet little box that’s full of surprises. There are many different ways you can go about making a simple box, this is how I went about making mine:
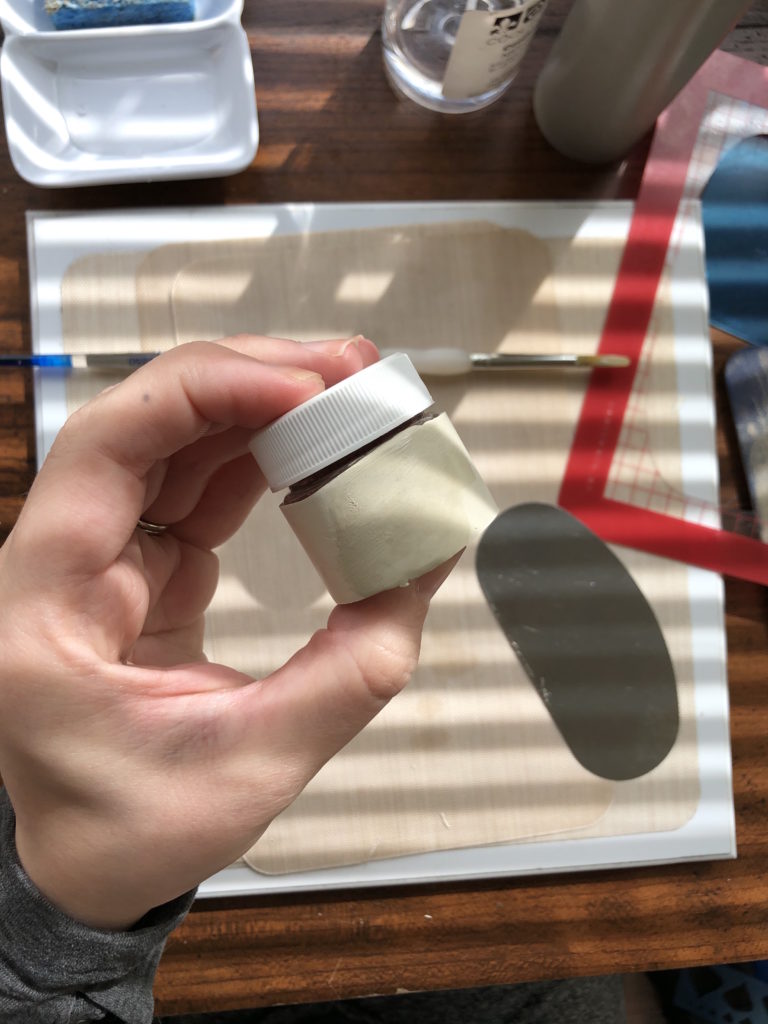
I started this piece out by searching my studio for smooth (It’s important to pick something that has a shiny or smooth surface, that way the clay will easily slide off the container once it’s dry) cylindrical objects that were around the diameter of the piece I was hoping to make to form the outside wall of my piece around. I found some small storage containers, some vials, and decided on using a small sunshine enamel container I had. I then rolled some clay to 3 cards thickness for the wall, and cut the clay to be a long strip just a touch higher than I wanted my finished piece to be (so I’d have some room for sanding). I wrapped the clay around the cylinder so the ends were overlapping, used a clay scraper (or tissue blade) to cut the seam, lined the edges up, and joined the seam by dampening the clay with some water and adding some syringe to reinforce the connection. I then allowed the piece to dry (if the object you are forming around is heat tolerant you could place it on a hot plate or dehydrator to speed things up).
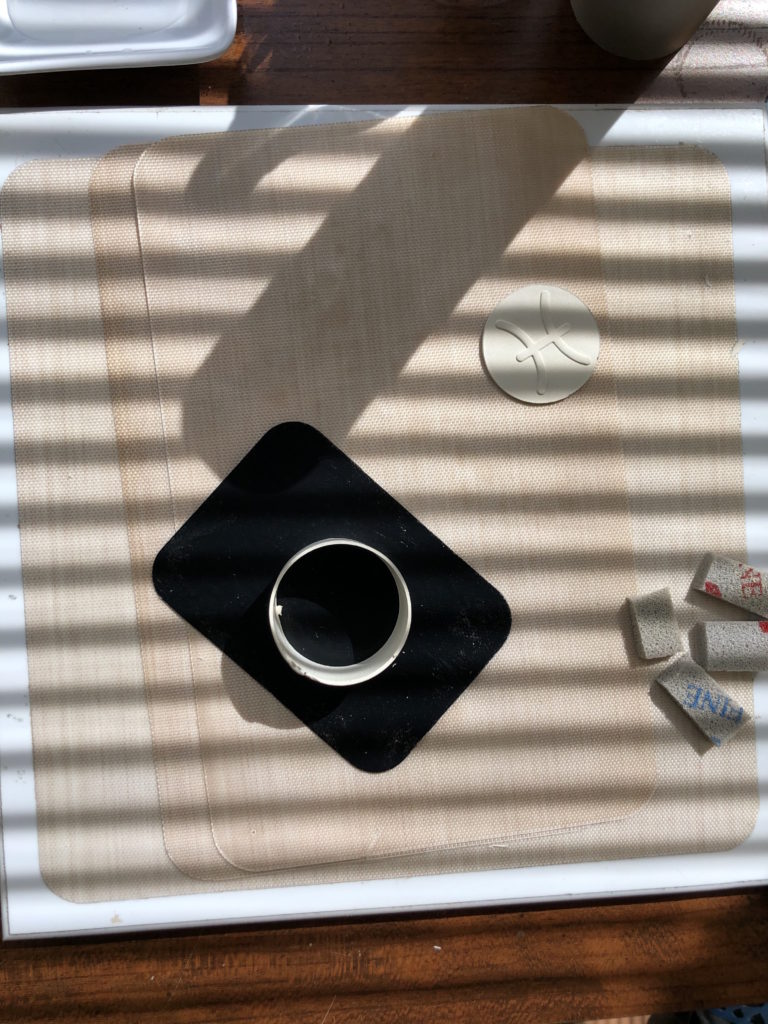
Once that piece was dry, I slid it off the container and used it, alongside a circle template, to plan out the rest of my project. I knew I wanted my lid to have a lip or protruding element that would fit inside the walls of the container to keep the lid on, so I placed my clay cylinder on top of the circle template and looked for a circle that was either the same size or slightly larger than the inside diameter of my cylinder. I selected a slightly larger size, figuring it will end up being slightly smaller from the needle cutting on that inside edge, as well as the piece might shrink some as it dries. I also knew I could sand it smaller to fit if needed. I decided that for this piece I wanted to add a little accent on the inside of the lid as well, and used our zodiac template to apply the constellation of the Pisces zodiac to the clay sheet that would serve as the inside lip of the lid. To do this, I rolled my clay to 5 cards thickness, before using the zodiac template to emboss at 4 cards thickness. I used the circle I selected earlier to cut out the shape for this lip and set it off to the side to dry.
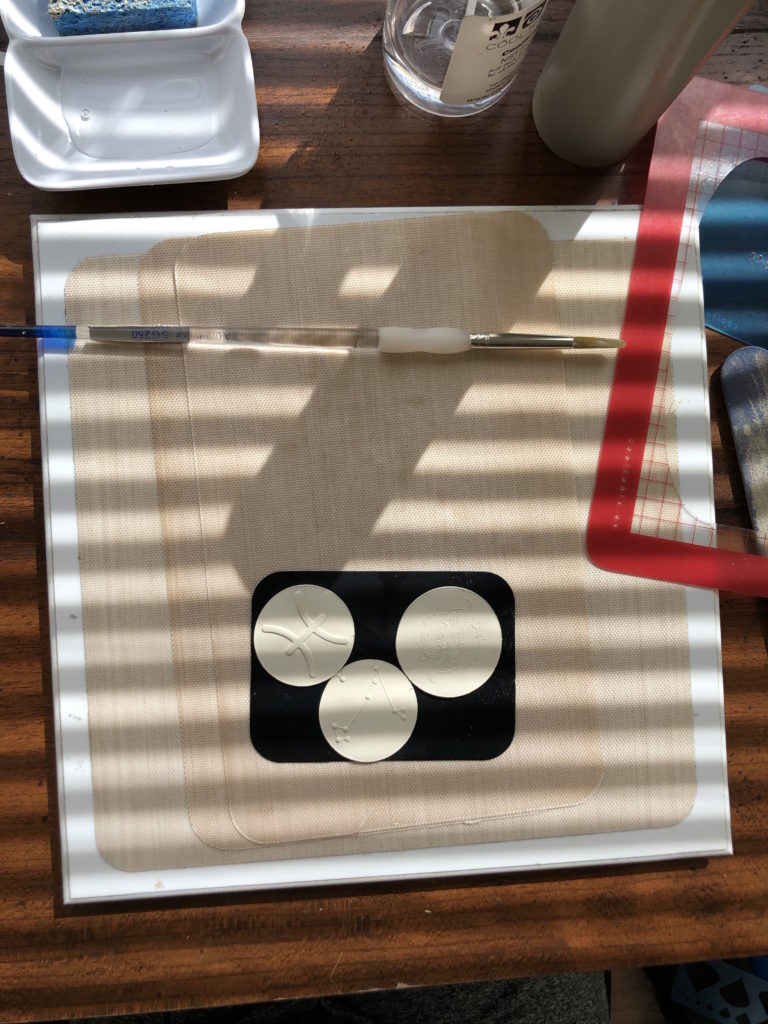
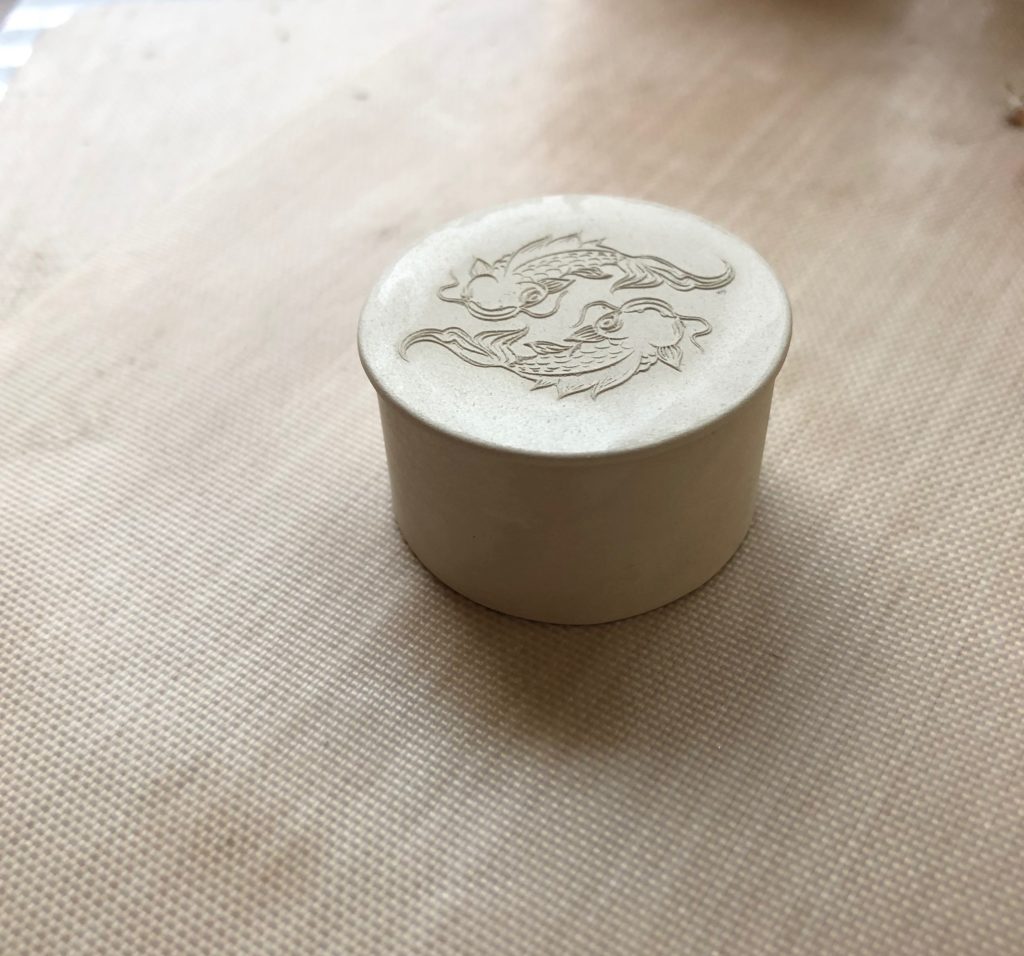
Next, I needed to select a circle for the top of my lid. I wanted it to come out over the outside wall of the cylinder so it would be easy to remove, so I again placed my clay cylinder over the circle template and selected one that looked like it would hang over the edge some. I then rolled some clay to 4 cards thick and then used the zodiac jewelry artist element to apply the fish design by rolling to 3 cards thick. (As a note, if i got to make this piece again, I would maybe bump the lid up to being 4 or 5 cards after it was textured. I liked the way the thinner lid looked in clay, but once it was fired and shined up I found myself wishing maybe there was a bit more visual weight to the edge of the lid.) I allowed that piece to dry, before using water to join the constellation patterned circle (pattern facing downward) to the circle that had the two fish on the top, with the constellation circle centered on the back of the piece with the two fish.
Before I joined the constellation lip of my lid to the top portion of the lid, I noticed it was actually a perfect fit for the inside of my cylinder. Usually when I make a box, I place the side wall on top of a bottom sheet of clay that is slightly too large and then trim the excess from the bottom sheet after the two elements have been joined because that’s easier than cutting a piece to fit exactly on the inside for the bottom. So you could create your bottom piece by either using the same circle that you used for the inside of your lid if that fit perfectly– placing it inside of the cylinder, and joining the edge of the circle with the inside edge of the cylinder with water. Alternately, you could cut a sheet of clay larger than your cylinder, join the bottom of the cylinder to the top of that sheet, and trim away any excess from the outside. Whichever you choose is up to you, but for this piece I rolled my clay to 4 cards thick, then textured the clay down to 3 cards thick with another Pisces zodiac symbol that will be on the inside of the container.

While my bottom circle was drying, and before I joined the cylinder to the bottom, I sanded the top and bottom edge of it so it would be perfectly flat on each side. I did so by laying down some 320 sandpaper, and gently rotating my piece on the sandpaper in a circular motion. Once I was happy with the height of my cylinder and it was looking nice and even, I generously dampened the inside edge of the bottom of my cylinder, and the outside edge of my circle before placing the cylinder around the circle and allowing it to dry.
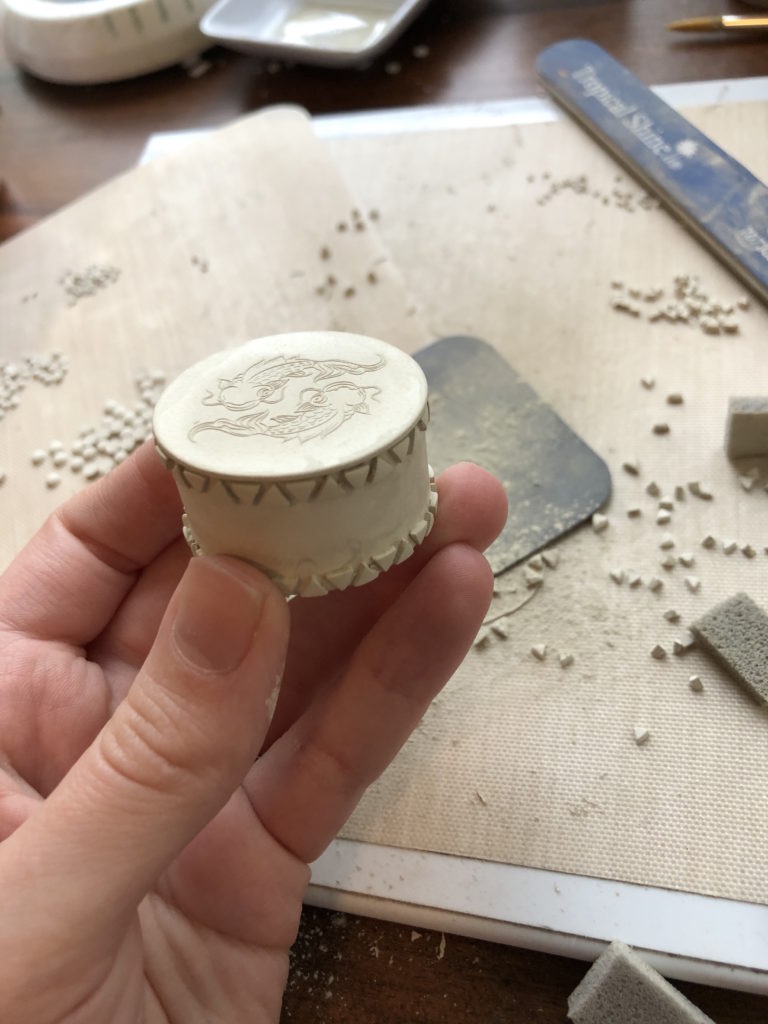
Once the bottom and cylinder were nicely joined, I used sanding pads to sand the side seam of my cylinder, supporting it with my finger on the inside as I did so. I like to clean up once the construction is one, because the seam is less likely to flex or open up with the shape being supported by its connection to the bottom circle. I also then sanded the inside of my seam, and sanded my lid too. I then decided to add some accents to the outside of this piece. Once I was happy with the surface of my piece, I embellished it with finishing touches. It can be tricky to apply texture to pieces that are round and will have to have a seam to connect them, so I chose to apply a pattern after my piece was formed by using finishing touches. In this case I made some triangles, and applied them in an alternating pattern by dampening where they would be applied, dipping the triangle element in water, and placing them before applying some gentle pressure to connect the triangle to the side of my piece. I kept doing this all the way around the top and bottom of my piece, before allowing it to dry.
Once it was dry, I thought the triangles were sticking out a bit too much, and sanded them down with a medium grit sanding stick, before using sanding pads to clean up the surface on those shortened elements. I gave my piece one more final sanding before firing it in my kiln. I just fired the two elements separately, both with their flat faces resting against a firing brick (the bottom of the container, and the top of the lid down against the brick).
Once they were fired, I used Patina Gel to darken the piece, and then since I didn’t want this piece to be super shiny or have a lot of high contrast, I used 0000 steel wool to remove the patina from the high areas to finish up this piece.
Products Used:
Finishing Touches Molds – Triangle Flat
Jewelry Shape Template – Pisces
Jewelry Artist Elements Texture – Astrology – Pisces
Jewelry Shape Template – Circle
Cool Tools Clayboard Teflon Work Surface 9″ x 9″
EZ960® Sterling Silver Metal Clay
Royal Soft-Grip™ Taklon Brush #20/0
Tropical Shine Sanding Stick – Medium
Cool Tools Clay Thickness Rolling Frames
A smooth plastic container to form the outside wall of your piece around
