The Longevity of EZ960 Metal Clay, an Ongoing Experiment
I’ve always had an interest in the importance of objects, and how we can associate an object with a person, or an experience and use
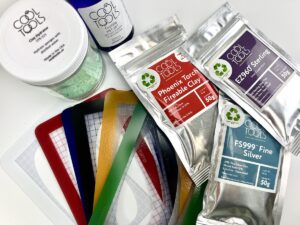
A Summary of Cool Tools Metal Clays…
…Following PMC’s Exit from the Market PMC, Mitsubishi’s metal clay brand, rocked the metal clay community with its exit from the market. As the first
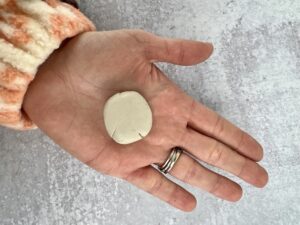
Create Real Silver Jewelry out of Silver Clay?!
Silver clay is a magical material for creating unique and beautiful jewelry pieces. This clay is made from fine silver particles suspended in a binder,
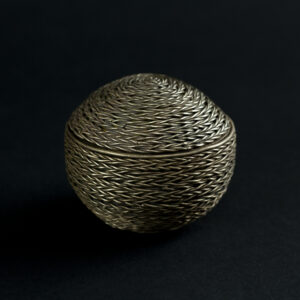
Aureus™ Bright Bronze Clay Basket
While I usually create jewelry for my projects here at Cool Tools, one can only make so many rings before deciding to create a decorative
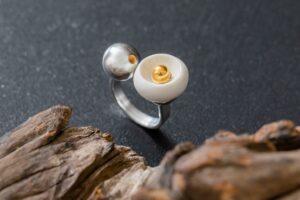
Porcelain & Metal Clay at the METALCLAYSTUDIO
METALCLAYSTUDIO, located in Moscow, Russia is a unique creative space where that offers training in metal clay, as well as other kinds of metal working
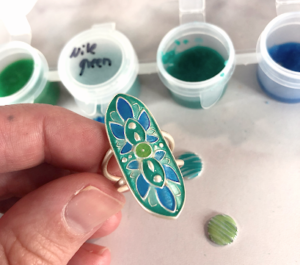
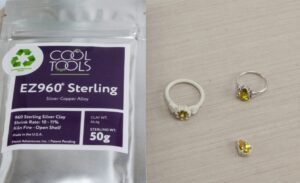
Enameling on EZ960® Sterling Silver Metal Clay
These experiments were brought on by a conversation I had with Cindy Pope at the Enamelist Conference back in 2019. Having met at the Cool