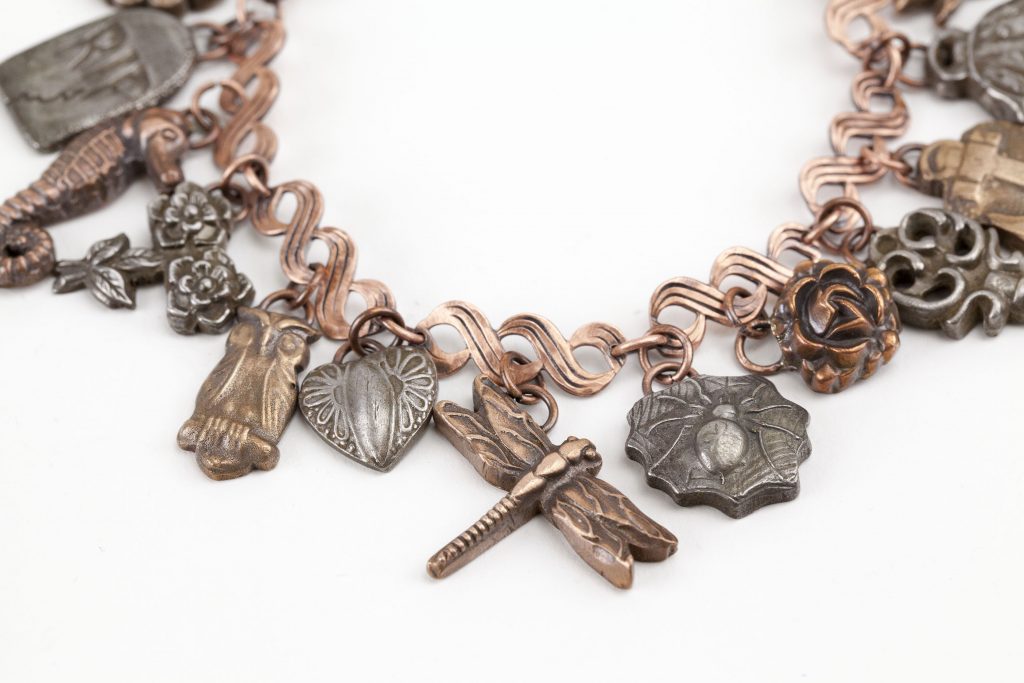
 The “Antique Mold Charm Bracelet” is a great project for beginners. The simple techniques make a wonderful bracelet, which looks very complex due to all the wonderful elements made from our Antique Molds. We have a huge selection of Antique Molds, with over 800 offered. You can choose to use all of the mold, or just a fragment of it. One of the great things about a charm bracelet is that you get to pick and choose the elements that appeal to you. The individualized compilation of the charms tells a unique story.
After you have chosen the Antique Molds and clay(s), you are ready to begin the project. I chose to work with Hadar’s Clay One-fire High-fire Clays. Any clay(s) would work well for this project. It would look amazing in FS999 or EZ960 with our new Nano Gems embedded in the charms or set as charms on their own.
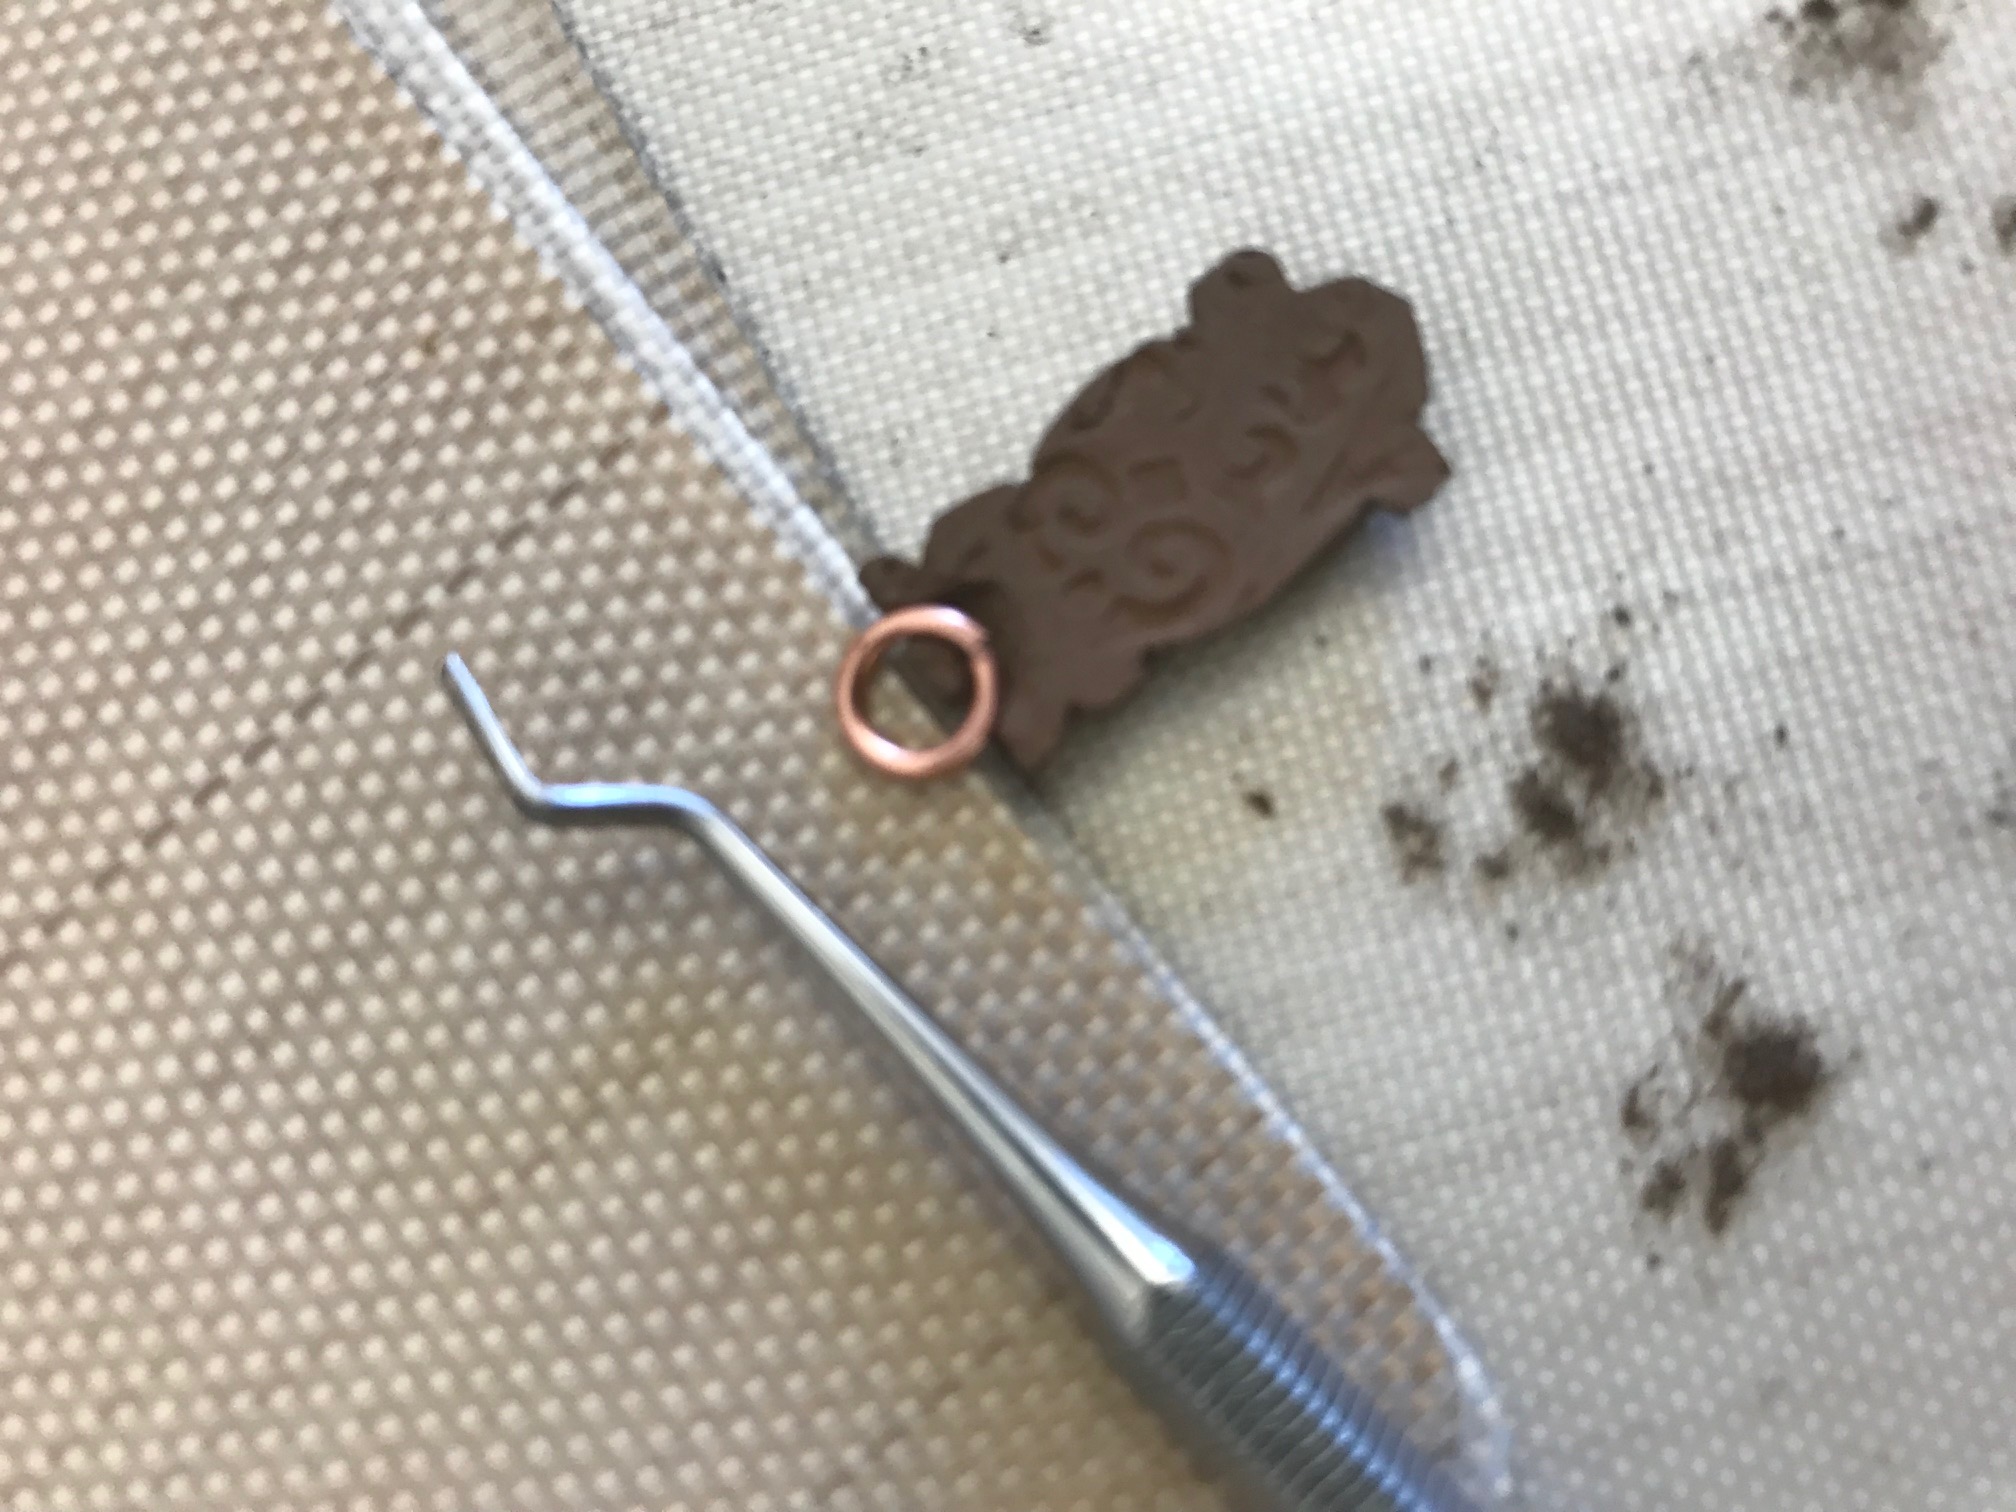
I began with Hadar’s Clay One-Fire Copper Clay. I hadn’t had experience with firing copper wire into base metal clays, so I made the seahorse and rose charm with the copper jump ring embedded into the clay as test samples. After I molded, dehydrated and finished the edges of the forms, I carved out a groove in the back where I wanted the jump ring to nestle. It is important that the jump ring rests below the surface of the backside. After a good fit is found for the jump ring, secure it into place with some paste and clay. Dry out the clay, do any final clean up and fire. I used the recommend firing schedule for Hadar’s Clay One-Fire Copper Clay. The jump rings fired into the clay well. I continued this process for the remainder twelve molds using the other six Hadar’s Clay One-Fire High-Fire Clays. I fired all of these clays together using Hadar’s recommend firing schedule for combined firing.
Once all the charms were fired, I attached them to the “Patterned Wire Chain Bracelet” created for a previous blog. The bracelet was patinated with Patina Gel, buffed with a brass brush and tumbled. After tumbling I did a final polishing with the Ultra Polishing Pads.
I did have some issues with the jump rings dislodging from the two copper pieces during tumbling. I did not have this issue with the other clays. I believe that I thinned out the clay a little too much, which I used to embed the jump ring. This left the clay vulnerable to breaking. To fix this issue, the jump rings were soldered on to the copper pieces with paste solder and a butane torch. I am planning to remake and fire the copper charms to test whether my first clay connections were faulty, or if copper wire does not like to fuse to copper clay. Also, I did tumble the Steel XT and the Pearl Grey. These are steel clays, and they did rust a bit from the water in the tumbler. I would not recommend tumbling these clays. They will look better from just using dry polishing methods. I hope that my “Antique Mold Charm Bracelet” inspires your own custom charm bracelet. Listed below are all of the materials, tools and antique molds I used for this project.
 Materials Used:
 Tools Used:
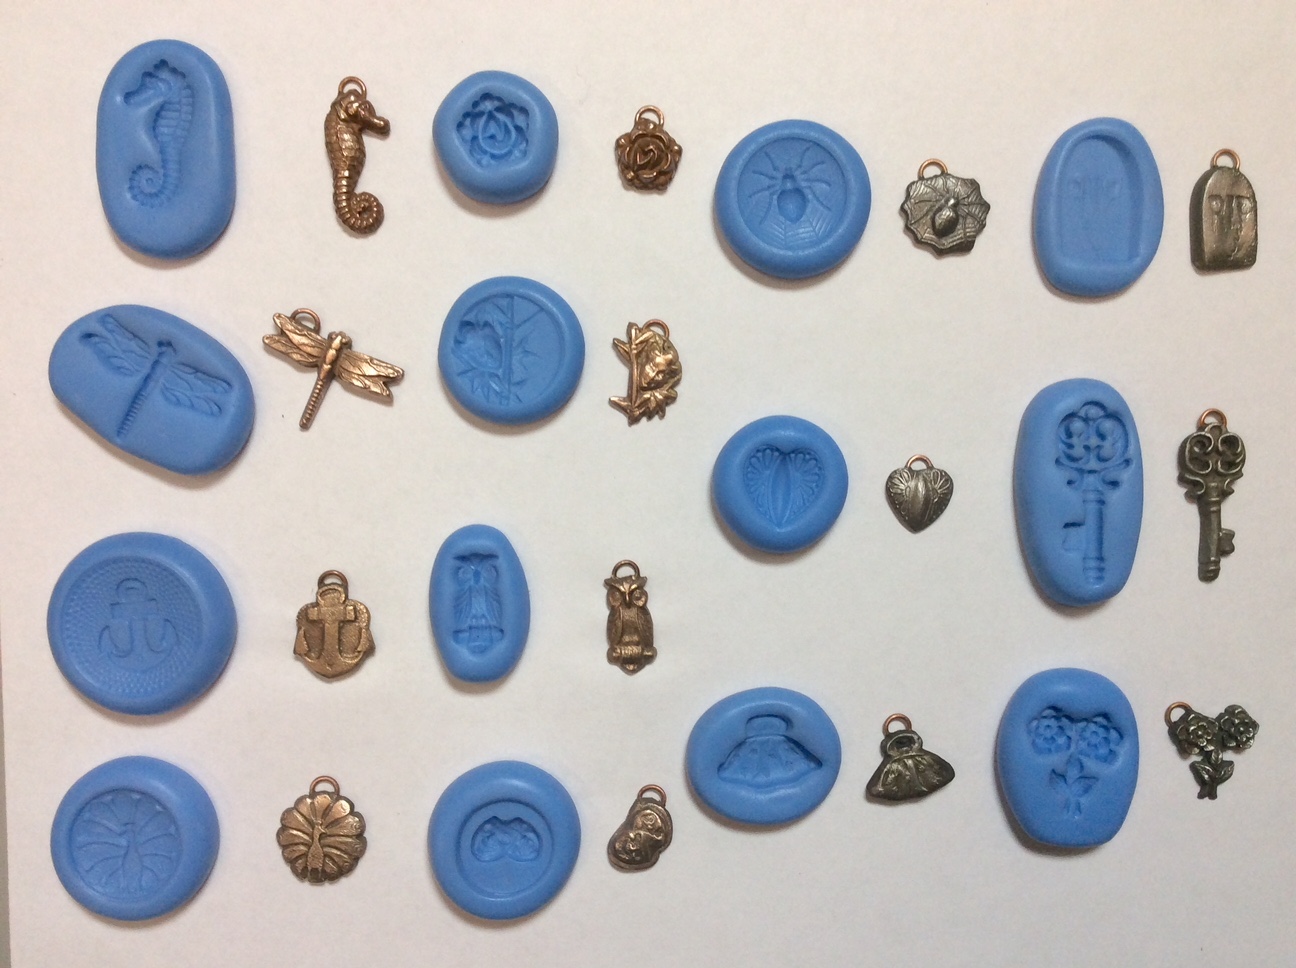 Antique Molds (In order according to the picture):
